如何快速實現REST API集成以優化業務流程
那如何改進呢?
其實思路比較簡單,就是按照預測的方向多迭代幾次就可以,比如我們從完全的隨機數開始按照上述思路進行擴散,下面是實現的代碼:
# 采樣策略:把采樣過程拆解為5步,每次只前進一步

n_steps = 5

x = torch.rand(8, 1, 28, 28).to(device) # 從完全隨機的值開始

step_history = [x.detach().cpu()]

pred_output_history = []


for i in range(n_steps):

    with torch.no_grad():               # 在推理時不需要考慮張量的導數

        pred = net(x)                   # 預測“去噪”后的圖像

    pred_output_history.append(pred.detach().cpu())

                               # 將模型的輸出保存下來,以便后續繪圖時使用

    mix_factor = 1/(n_steps - i)            # 設置朝著預測方向移動多少

    x = x*(1-mix_factor) + pred*mix_factor  # 移動過程

    step_history.append(x.detach().cpu())   # 記錄每一次移動,以便后續

 # 繪圖時使用


fig, axs = plt.subplots(n_steps, 2, figsize=(9, 4), sharex=True)

axs[0,0].set_title('x (model input)')

axs[0,1].set_title('model prediction')

for i in range(n_steps):

    axs[i, 0].imshow(torchvision.utils.make_grid(step_history[i])

       [0].clip(0, 1), cmap='Greys')

    axs[i, 1].imshow(torchvision.utils.make_grid(pred_output_

       history[i])[0].clip(0, 1), cmap='Greys')
我們執行5次迭代,觀察一下模型預測的變化,輸出結果如下圖所示:

從上圖可以看出,模型在第一步就已經輸出了去噪的圖片,只是往最終的目標前進了一小步,效果不佳,但是迭代5次以后,發現效果越來越好。如果迭代更多次數,效果如何呢?
# 將采樣過程拆解成40步

n_steps = 40

x = torch.rand(64, 1, 28, 28).to(device)

for i in range(n_steps):

    noise_amount = torch.ones((x.shape[0],)).to(device) * (1-(i/n_

        steps))# 將噪聲量從高到低移動

    with torch.no_grad():

        pred = net(x)

    mix_factor = 1/(n_steps - i)

    x = x*(1-mix_factor) + pred*mix_factor

fig, ax = plt.subplots(1, 1, figsize=(12, 12))

ax.imshow(torchvision.utils.make_grid(x.detach().cpu(), nrow=8)

   [0].clip(0, 1), cmap='Greys')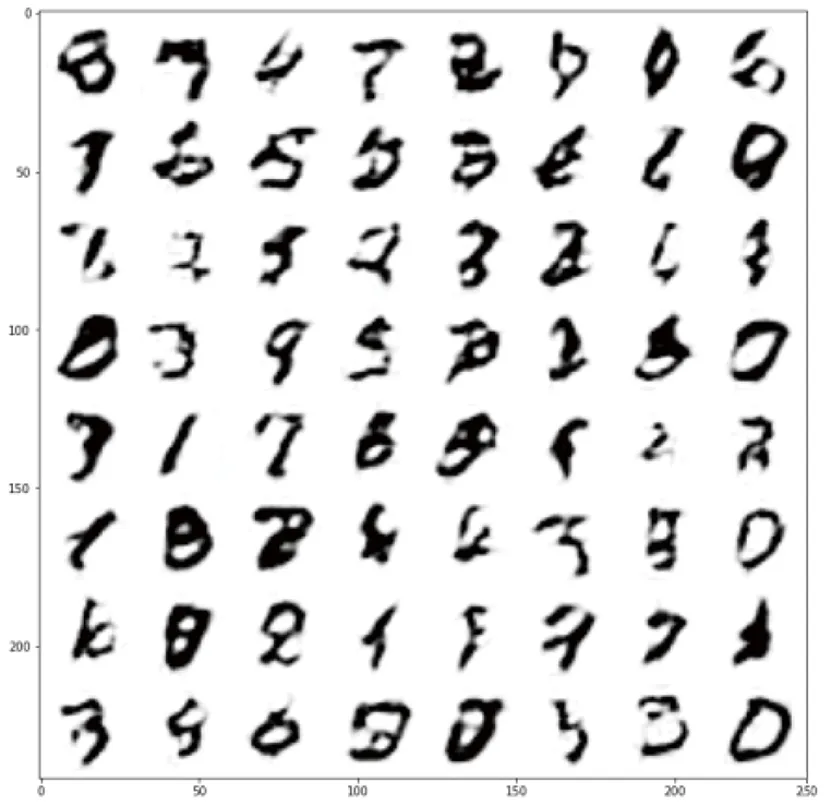
從上圖可以看出,雖然在迭代多次以后,生成的圖像越來越清晰,但是最終的效果仍然不是很好,我們可以嘗試訓練更長時間的擴散模型,并調整模型參數、學習率、優化器等。
文章轉自微信公眾號@ArronAI